How to Take Product Photos for E-commerce, Step by Step
You can take e-commerce product photos with a phone, 1 window or 2 lamps, and a white sheet: the skill is in lighting and consistency, not the camera. Shoot the main image on white, fill about 85% of the frame, keep the same setup for every product, then edit to the marketplace's size rules.
Key facts
- Amazon's main image needs a pure white background (RGB 255,255,255), at least 1,000 px on the longest side, and the product filling about 85% of the frame.
- A listing set is usually 7 images, so plan 1 main shot and 6 supporting shots per product before you start.
- Shoot from about 1–2 metres away with 2x zoom instead of close up on the wide lens, which stretches edges and makes products look distorted.
- Use 1 light source type only: turn off overhead room lights when shooting by a window, because mixed colour temperatures tint white backgrounds blue or orange.
- Fluxx.work can turn 1 plain phone photo into a studio-style set for 12 credits an image: ₹48.37 ($0.52) on the ₹2,999 Pro pack.
Steps 1–2: plan the shots and prepare the product
Before setting anything up, write a shot list: one line per image, per product. For most products that is a main image on white, the back and side, a close-up of the material or label, a scale shot in a hand or next to a familiar object, and one image of the product in use. Then prepare every product as if it will be inspected at full size, because it will. Steam garments, stuff bags and shoes with tissue so they hold their shape, wipe glass and metal with a microfibre cloth, peel off protective film, and remove price stickers. Ten minutes of preparation saves an hour of retouching.
Steps 3–4: the background and the light
A white sweep is the backbone of product photography: a sheet of white paper or fabric that curves from the wall down onto the table with no crease, so there is no horizon line behind the product. Place it next to a large window and shoot during the day, ideally with the sun not shining directly in. If the light is harsh, tape a white sheet or baking paper over the glass to diffuse it. Turn off overhead room lights, because mixing warm bulbs with daylight tints the background. On the side opposite the window, stand a piece of white card to bounce light back and soften the shadows. Indoors or at night, 2 identical daylight lamps at 45° on either side do the same job.
Steps 5–6: stabilise, frame and shoot
Put the phone or camera on a tripod, or on a stack of books if that is what you have, and use the timer so pressing the button does not shake the shot. Do not shoot close up on the wide lens. Step back about 1–2 metres and use 2x zoom, because the wide lens stretches the edges of a product and makes boxes look bent. Tap to focus on the product and lower the exposure slightly if the white background is blowing out the product's edges. Then lock in your distance and camera height and keep them for every product. That consistency is what makes a catalog look professional, more than any single photo.
Step 7: shoot every angle a buyer would check
Work through the shot list for each product before moving to the next. Fill about 85% of the frame for the main image. For the supporting shots, think like a buyer in a store: turn the product around, look inside the bag, check the sole of the shoe, read the ingredients on the pack. Capture a detail shot of whatever justifies the price, such as stitching, material or a mechanism. Add a scale shot, and one in-use image if you can stage it simply. Take a few frames of each shot, because the sharpest one is not always obvious on a phone screen.
Step 8: edit and export for each channel
Edit for accuracy, not drama. Correct the white balance so the background is neutral white and the product's colour matches the real item. Crop to each channel's ratio (square works for most marketplaces), and make sure the main image meets the rules, such as Amazon's pure white and 1,000 px minimum. Remove dust spots, but do not change the product. Export as JPG or WebP at high quality and name files by SKU and shot number so uploads do not get mixed up. If you need lifestyle scenes or model shots you cannot stage at home, this is where AI fits: one clean photo from step 6 is enough for a tool to generate the rest of the set.
| Step | What to do | Mistake it prevents |
|---|---|---|
| 1. Plan the shot list | Write the 7 images each product needs | Discovering a missing angle after packing up |
| 2. Prepare the product | Clean, steam, stuff and remove stickers | Dust, creases and fingerprints at full size |
| 3. Set up the background | White sweep: paper or sheet curved from wall to table | A visible horizon line behind the product |
| 4. Light it | Diffused window light or 2 lamps at 45°, room lights off | Hard shadows and colour casts |
| 5. Stabilise the camera | Tripod or stack of books, timer or remote | Blur and inconsistent framing |
| 6. Frame and shoot | Same distance and height every time; 2x zoom | Distortion and mismatched sizes across products |
| 7. Shoot every angle | Front, back, side, detail, scale, in use | Buyer questions the gallery cannot answer |
| 8. Edit and export | White balance, crop, size to channel rules | Rejected uploads and inconsistent catalogs |
See the Difference
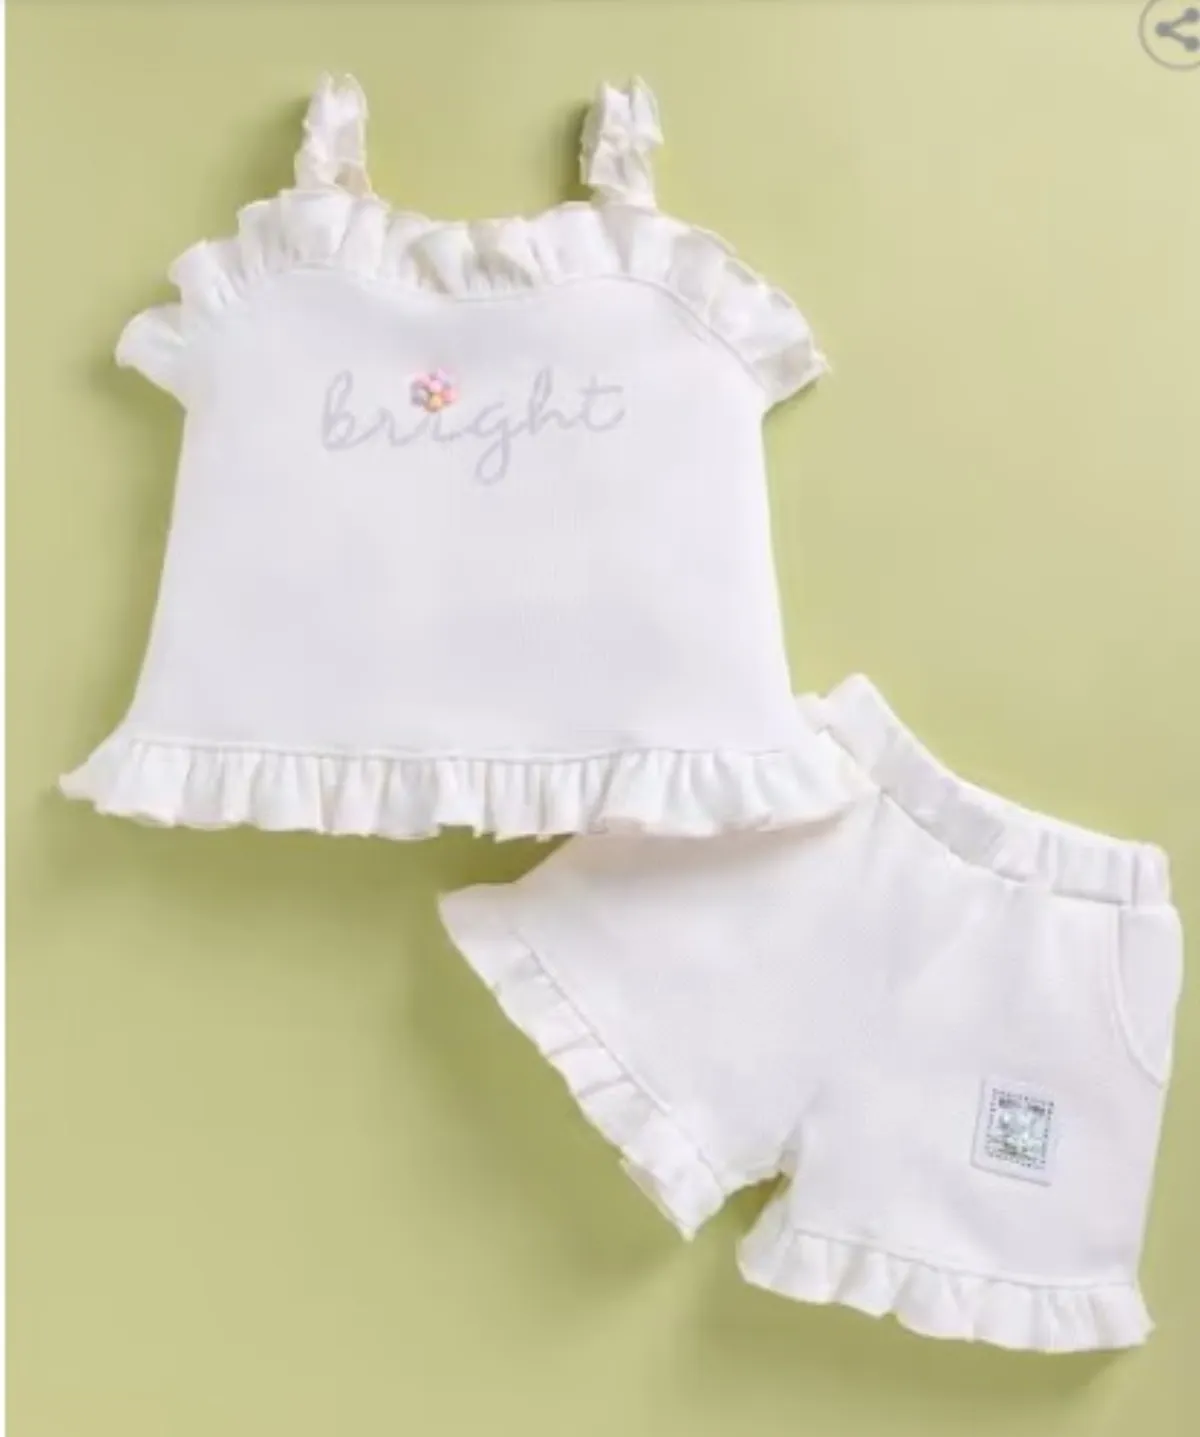
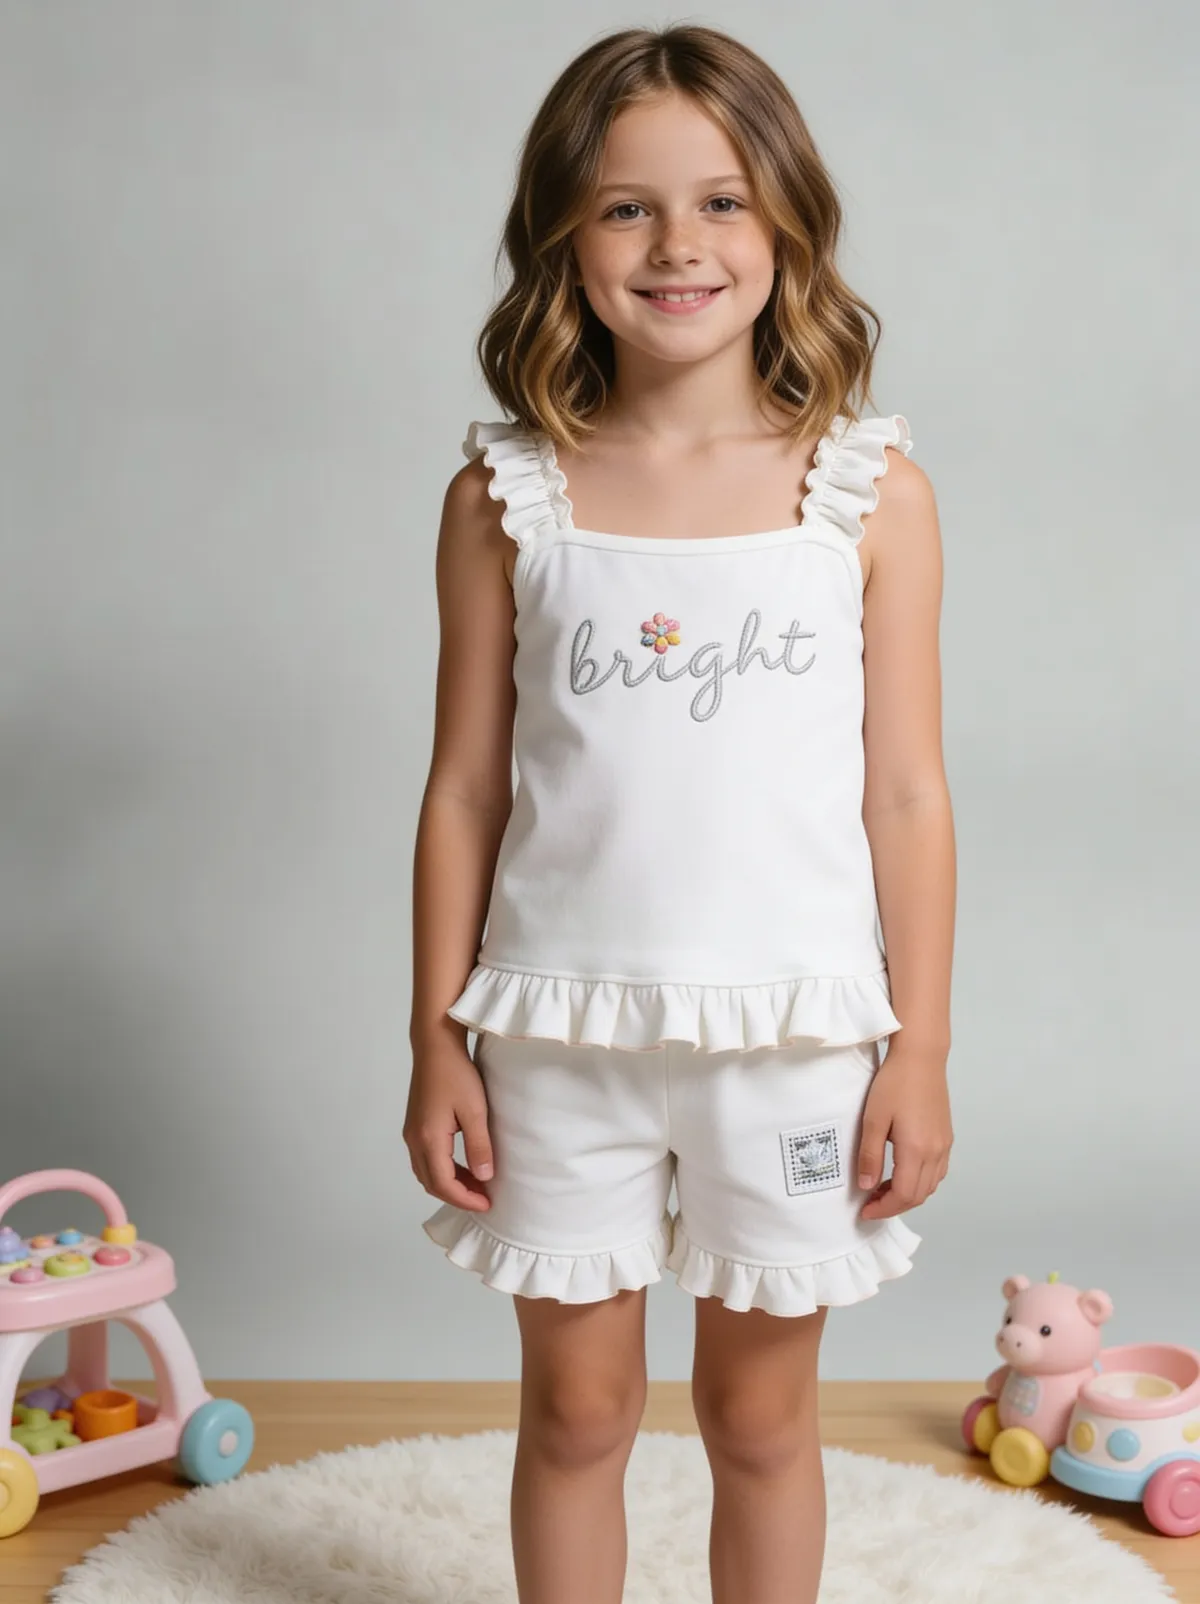
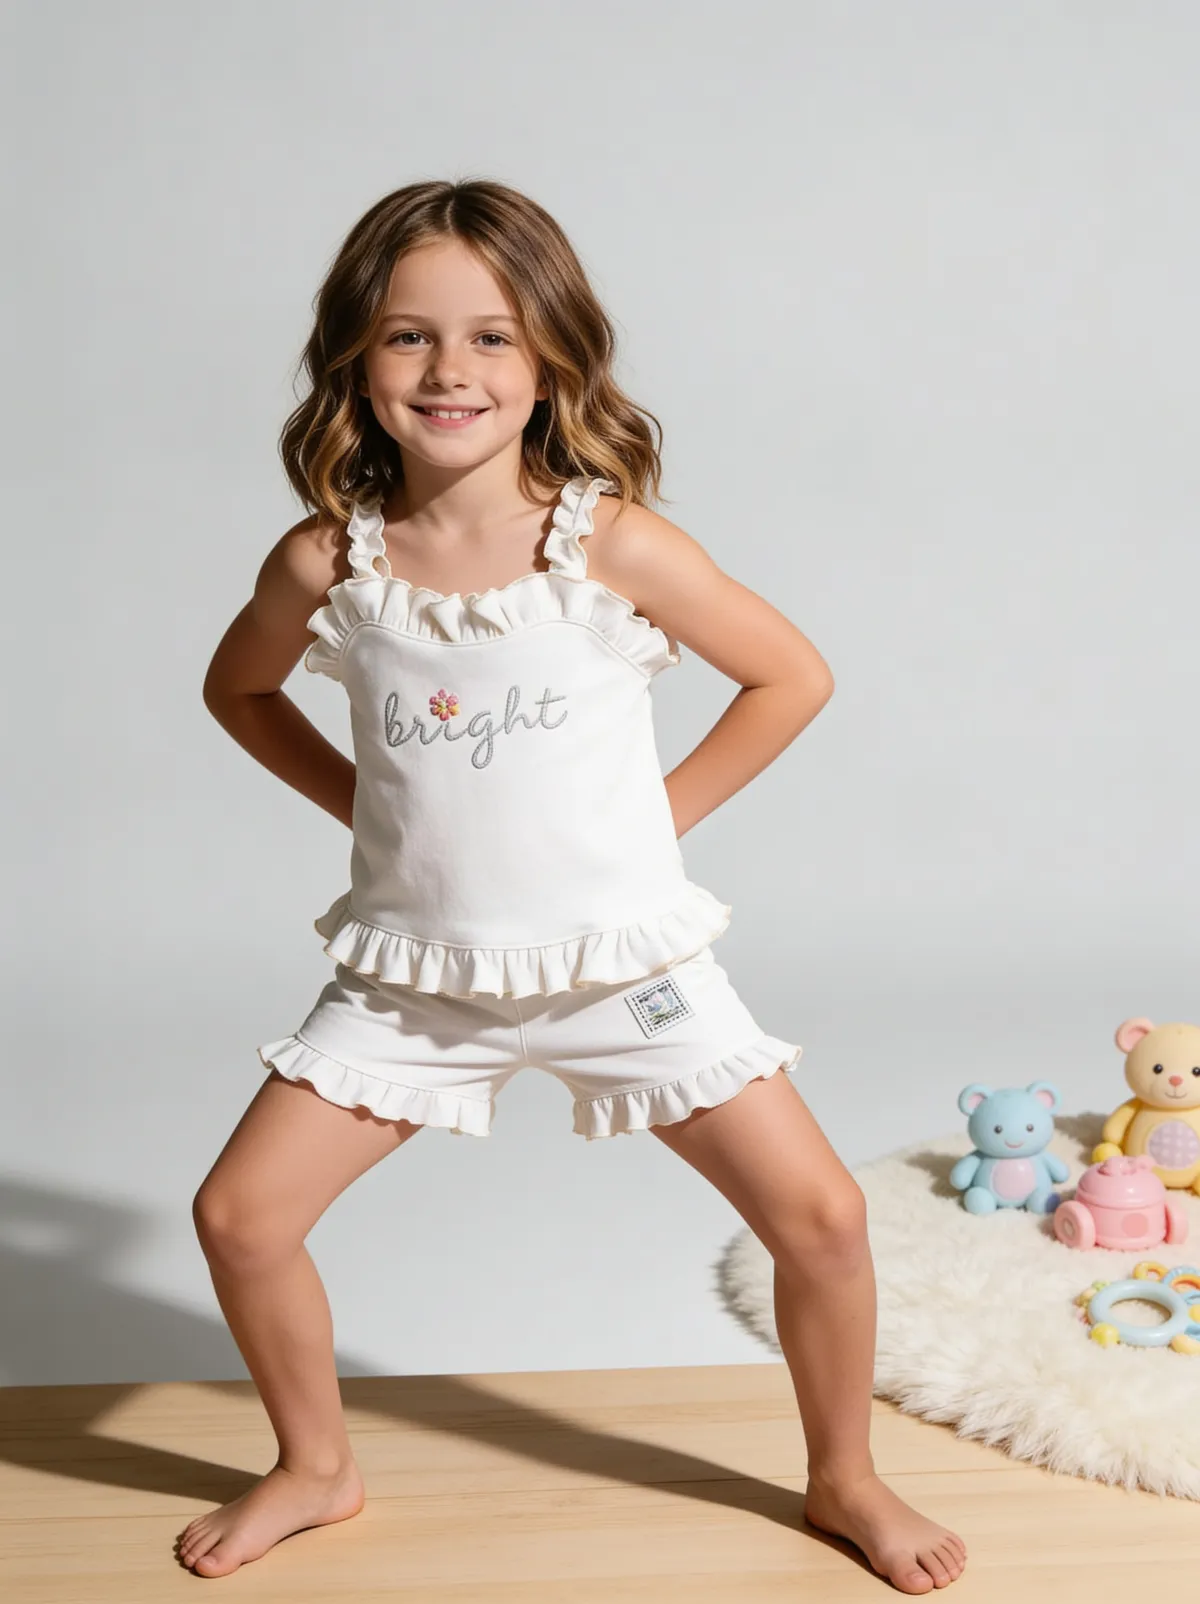
Drag the slider to compare: before your upload, after Fluxx.
 BeforeAfter
 BeforeAfter
Benefits
Marketplace-ready photos from equipment you already own
A catalog that looks consistent across every product
A clean source photo that AI tools can turn into a full set
How It Works
1
Write the shot list and prepare each product.
2
Set up a white sweep beside a diffused window, with room lights off.
3
Fix the camera on a tripod at 1–2 metres with 2x zoom, and shoot every angle.
4
Edit for accurate colour, crop to channel rules and export by SKU.
Best Practices
- check_circleUse a seamless white sweep and diffused window light
- check_circleFix the camera position and keep it for every product
- check_circleCorrect white balance and check colour against the real product before exporting
Common Mistakes
- cancelShooting close up on the phone's wide lens, which distorts the product
- cancelLeaving room lights on next to a window, which tints the background
- cancelChanging distance or angle between products, so the catalog looks mismatched
Trusted by 1,200+ businesses worldwide
“We used to book a studio every quarter. Now one product photo gives us the hero, lifestyle and detail shots in a single pass, and the catalogue finally looks like one brand instead of six separate shoots.”
Marcus T.
Founder, Home Goods Brand · Austin, TX
“The garment is genuinely the same in every frame — colour, print and trims all hold. That was the part I did not believe until we ran our own SKUs through it.”
Dana R.
Head of Ecommerce, Activewear · Brooklyn, NY
“Glass and reflections are where most tools fall apart. Ours come out clean, so we can photograph a new scent the week it launches instead of waiting on a studio slot.”
Layla A.
Founder, Fragrance Brand · Dubai, UAE
“Metal finish and stone detail survive a zoom now, which is what our listings actually needed. We stopped reshooting pieces that came back soft.”
Omar S.
Marketing Director, Jewellery · Abu Dhabi, UAE
“The textures and lighting are so realistic that customers tell us they can almost feel the product. We reshoot far less than we used to.”
Sneha P.
Founder, Coffee Brand · Coorg, India
“The AI-contextual backgrounds just work. It reads the product and picks the right aesthetic. We've stopped paying for stock photo subscriptions.”
Priya S.
Founder, Skincare Brand · Mumbai, India
Frequently Asked Questions
Can I take good e-commerce product photos with just a phone?
Yes. Any recent phone is sharp enough for marketplace images, which need at least 1,000 px on the longest side for Amazon's zoom. Light, background and consistency matter far more than the camera, so spend on a white sweep and a tripod before a new device.
What is the best light for taking product photos at home?
Large, diffused window light with the overhead room lights switched off, plus 1 white card opposite the window to fill shadows. At night, use 2 identical daylight lamps at 45° on either side of the product.
What background should I use for e-commerce product photos?
Pure white for the main image, because Amazon requires RGB 255,255,255 and most marketplaces expect white. Use a seamless sweep of paper or fabric so there is no horizon line, and save coloured or lifestyle backgrounds for 1 or 2 supporting images.
How many photos should I take of each product for my store?
Plan for 7 finished images: 1 main on white plus 6 supporting shots for angles, detail, scale and use. Take 2 or 3 frames of each so you can pick the sharpest.
How do I photograph clothes for e-commerce without a model?
Use a flat lay on a white surface shot from directly above, or a mannequin, and steam the garment first. AI can then put the garment on a model: on Fluxx.work that costs 12 credits an image from 1 flat-lay or mannequin photo.
Why Fluxx.work
Shoot one clean photo using these steps, and Fluxx.work generates the rest of the listing set from it: angles, lifestyle and on-model shots, at 12 credits an image.